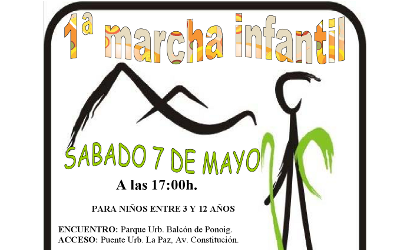
 El Ayuntamiento de Polop de la Marina junto con el Club de Escalada y Montaña «León Dormido», organiza para el próximo sábado 7 de Mayo la 1ª Marcha infantil para niños de entre 3 y 12 años.
Hemeroteca
Jornadas de animación a la lectura
 Con motivo del Día Internacional del Libro, que fue el pasado 23 de Abril, el Ayuntamiento de Polop de la Marina ha organizado unas jornadas de animación a la lectura.
Viaje al Museo Arqueológico de Alicante
 El Ayuntamiento de Polop de la Marina junto con la asociación Joves Marina Baixa, organiza un viaje el 30 de Abril para visitar la exposición «Tesoros de la Arqueología Rusa».
La Auditoría realizada al Ayuntamiento está a disposición de los Polopinos
 La Alcaldesa Mª Dolores Zaragoza Teuler, continúa con su política de transparencia y cuentas claras.
1er DIA DE LA BICI
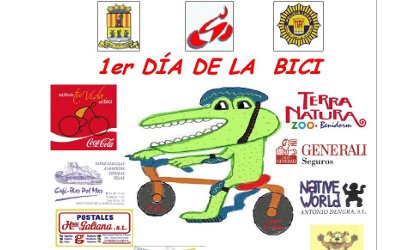 El Excmo. Ayuntamiento de Polop de la Marina, a través de la Policía Local ha organizado para el próximo jueves día 21 de abril el «1er DIA DE LA BICI».
El EXCMO Ayuntamiento de Polop ha financiado camisetas para los talleres del colegio
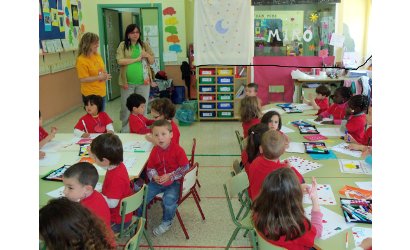 El EXCMO. Ayuntamiento de Polop de la Marina ha
financiado 350 camisetas de color azul, verde, amarillo, naranja. Para los talleres de los alumnos y profesores del Colegio Público San Roque de Polop.
Arrendamiento bar cafetería del castillo
Obras de mejora de la red de agua en el casco antiguo
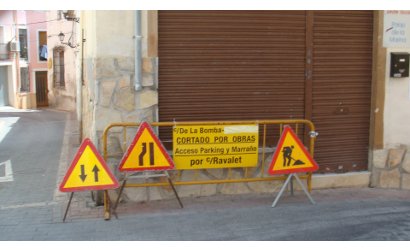 Hoy Lunes 11 de Abril, comienzan las obras de mejora de la red de agua en la calle La Bomba del casco antiguo de Polop de la Marina.
Viaje «Espacios Mayores 2011»
 El Ayuntamiento de Polop de la Marina, organiza un viaje gratuíto a Campello para personas jubiladas o prejubiladas.
Presentación del Proyecto Ciudades Seguras Digitales
 El pasado Martes 29 Marzo, la Comisión Comarcal de Prevención en Seguridad Local y Primeria Consulting, organizaron la I Jornada Tecnológica para presentar el proyecto Ciudades Seguras.Digitales.
Citación
La visión de los niños: el ojo vago
 El Ayto de Polop de la Marina, organiza para el Miércoles 30 de Mayo una charla coloquio impartida por el profesor Dr Carlos Laria Ochaita director de Oftalmología pediátrica y estrabismos de oftalmar en el Hospital Internacional Medimar de Alicante.